Easy Steps to Bake Fluffy Banana Nut Muffins at Home
You know what’s better than store-bought banana nut muffins? Literally anything homemade—but especially muffins that come out fluffy, nutty, and perfectly golden from your own oven.
Fluffy banana nut muffins have been my go-to comfort bake since I started experimenting in the kitchen. They’re quick, they use up those sad overripe bananas sitting on your counter, and let’s be honest—your house ends up smelling like a bakery. What’s not to love?
So if you’re on a mission to bake the fluffiest, most irresistible banana nut muffins at home (without pulling your hair out), I’ve got you. Let’s break it all down step-by-step—with no chef hat required.
Why Banana Nut Muffins Deserve a Spot in Your Life
Okay, real talk: why these muffins? Why now?
Because they check every box:
- They’re super forgiving. Forgot to add vanilla? Still good.
- They’re freezer-friendly. Bake once, enjoy for weeks.
- They make you look like you actually know what you’re doing in the kitchen. 😉
And FYI, they also double as breakfast, snack, or a low-key dessert with coffee. Yes, they’re that versatile.
What Makes Banana Nut Muffins Fluffy, Anyway?
You ever pull muffins out of the oven and they’re… well, kind of sad? Dense? Gummy?
Here’s what actually makes them fluffy:
- Overripe bananas – they add moisture and natural sweetness
- Room temp ingredients – helps everything blend smoothly
- Don’t overmix – seriously, resist the urge
- The right leavening agents – baking powder and baking soda
- Proper oven temp – start hot, then lower it slightly to set the dome
Ever wondered why some muffins rise like magic and others flop? Yep—it’s all science, baby.

Step-by-Step: How to Bake Fluffy Banana Nut Muffins
This isn’t your basic “mix and hope for the best” situation. Let’s do this the right way.
Step 1: Gather the Ingredients
Here’s what you’ll need. Nothing fancy, promise.
Dry Ingredients:
- 1 ½ cups all-purpose flour
- 1 tsp baking powder
- ½ tsp baking soda
- ¼ tsp salt
- ½ tsp ground cinnamon (optional, but trust me—yes.)
Wet Ingredients:
- 3 medium overripe bananas (the uglier, the better)
- ½ cup granulated sugar
- ¼ cup brown sugar
- 1 large egg
- ⅓ cup melted unsalted butter (cooled slightly)
- 1 tsp vanilla extract
- ¼ cup milk or buttermilk
Add-ins:
- ½ to ¾ cup chopped walnuts (or pecans if you’re feeling rebellious)
- Optional: chocolate chips if you want to make your muffins a little less innocent
Step 2: Prep Like a Pro
- Preheat your oven to 375°F (190°C).
- Line your muffin tin with paper liners or lightly grease the cups.
- Mash your bananas in a large bowl using a fork. Keep some small chunks if you like a little texture.
Now pause and take a breath—you’re already doing great. 🙂
The Mixing Technique That Changes Everything
Spoiler alert: how you mix matters just as much as what you mix.
Step 3: Mix Dry and Wet Separately First
- In one bowl, whisk together the flour, baking powder, baking soda, salt, and cinnamon.
- In another bowl, combine mashed bananas, sugars, egg, butter, vanilla, and milk.
Step 4: Combine with Care
Here’s where most muffin dreams go to die: overmixing.
- Pour the wet into the dry ingredients.
- Gently stir until just combined. A few streaks of flour? Totally fine.
- Fold in the chopped nuts (and chocolate chips if using).
TIP: If you see lumps, don’t panic. Lumps = air pockets = fluffy muffins. You’re golden.

Bake It Like You Mean It
Step 5: Fill and Bake
- Scoop the batter evenly into the muffin cups—about ¾ full.
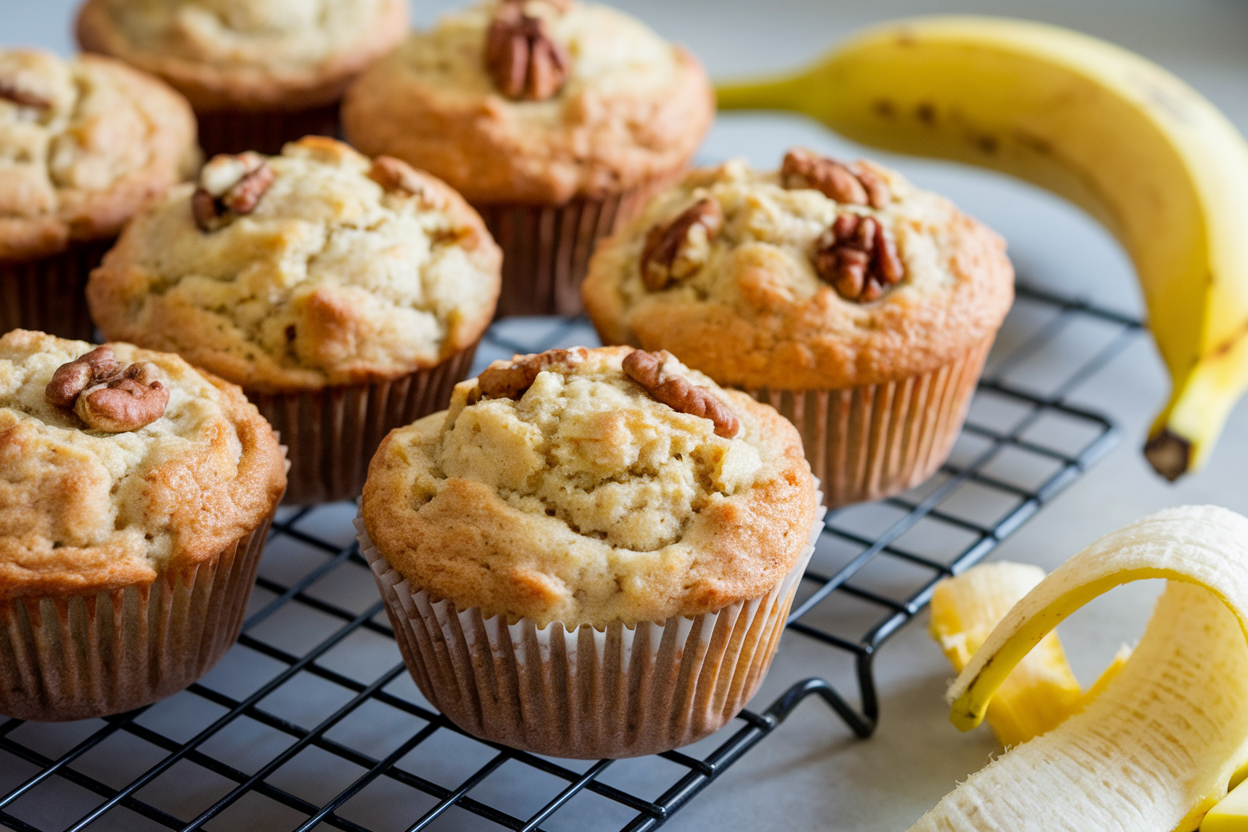
- Optional: sprinkle a few extra nuts on top for that
professionallook.
Bake at 375°F for 5 minutes, then lower to 350°F and continue baking for 12–15 minutes more.
Why the temp switch? That initial heat boost gives your muffins that glorious bakery-style dome.
Step 6: Check for Doneness
- Insert a toothpick into the center. If it comes out clean or with a few moist crumbs, you’re done.
- Let them cool in the pan for 5 minutes, then move to a wire rack to cool completely (unless you want to eat one hot and burn your mouth like I always do…).
Want Extra Moist Muffins? Try This Trick
Here’s a not-so-secret secret: use buttermilk instead of regular milk. Or, if you don’t have any:
- Mix ¼ cup milk with ½ tsp vinegar or lemon juice, let it sit for 5 minutes, and boom—DIY buttermilk.
This adds a little tang and makes the crumb super tender. You’ll thank me later.
Troubleshooting: What Went Wrong?
Let’s be honest—things happen. Your muffins didn’t rise? Dry as the Sahara? Here’s what probably went down.
Muffins Didn’t Rise?
- Check your baking powder and soda. Expired = game over.
- You maybe overmixed the batter. Be gentle!
Muffins Too Dense?
- Bananas too fresh? They don’t have enough moisture.
- You might’ve packed in too much flour. Spoon and level, don’t scoop.
Dry or Crumbly?
- You baked them too long. Every oven is different—start checking early.
- You skipped the fat or liquid ratio. Don’t mess with the wet-to-dry balance unless you like muffin rocks. 😬
Make It Your Own: Variations You’ll Love
Because banana nut muffins are just a base. Let’s get creative.
Want a Healthier Version?
- Use whole wheat flour for a nutty twist.
- Sub in Greek yogurt for some of the butter or sugar.
- Add ground flaxseed or oats for extra fiber (but don’t get carried away).
Craving More Dessert Vibes?
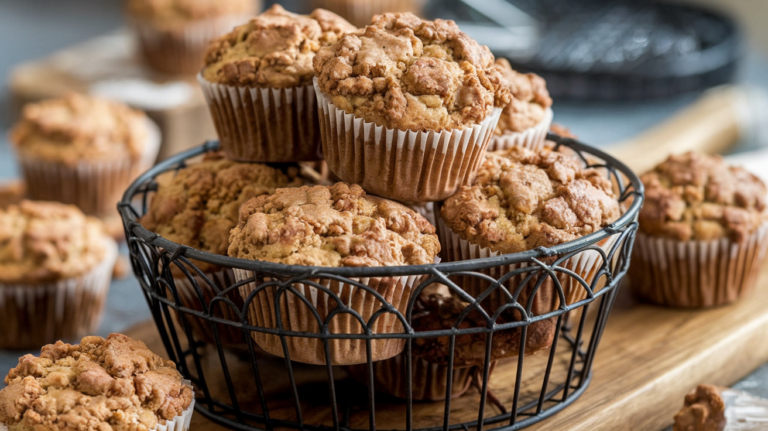
- Add a streusel topping: mix brown sugar, butter, and flour, then sprinkle on top before baking.
- Swirl in a little Nutella or peanut butter into each muffin cup.
- Make mini muffins and drizzle with icing. Because, why not?
Storage Tips: Keep ’Em Fresh
Here’s the scoop on how to keep your muffins tasting like day one:
Counter Storage (Short Term)
- Store in an airtight container at room temp for up to 3 days.
- Line with paper towels to absorb extra moisture.
Fridge (If You Must)
- Keeps for up to 5 days, but IMO they lose a bit of their soul in the fridge.
Freezer (Best Option!)
- Wrap individually in plastic wrap and freeze in a zip-top bag.
- Reheat in the microwave or toaster oven and boom—fresh muffin joy.
FAQs About Banana Nut Muffins
Q: Can I use frozen bananas?
A: Absolutely. Just thaw and drain the excess liquid before mashing.
Q: Can I skip the nuts?
A: Sure. Sub with dried cranberries, chocolate chips, or just go banana solo.
Q: Can I make these gluten-free?
A: Yep. Use a 1:1 gluten-free baking blend, but skip almond flour—it’s not the same texture.
Final Thoughts: Muffin Mission Accomplished 🎯
So there you have it—the easiest, fluffiest banana nut muffins you’ll ever make at home. No complicated gadgets, no chef skills required, and definitely no weird ingredients you can’t pronounce.
I’ve made this recipe so many times, I could probably do it blindfolded. And now? So can you. Well, maybe not literally blindfolded, but you get me.
Next time you spot those speckled bananas giving you the side-eye on the counter, don’t toss them—mash them, mix them, and muffin them.
Ready to bake? Grab your mixing bowl, turn on some music, and let’s make muffin magic. 🧁✨

